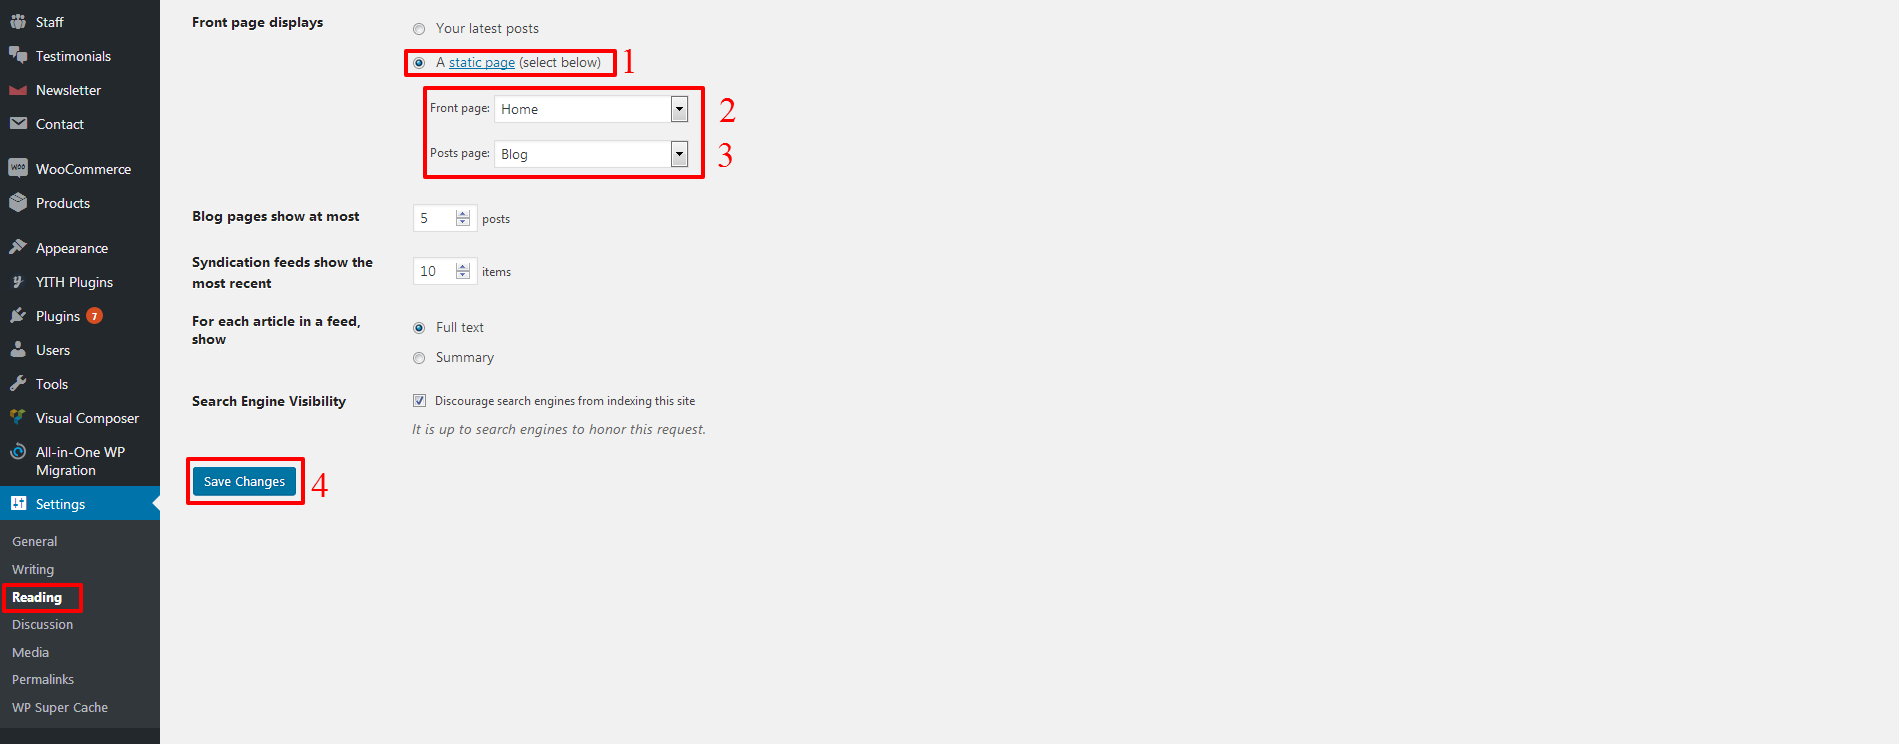
Homepage Configuration
Go to Admin > Settings > Reading > Reading settings
To display Homepage as landing page and posts listing page as Blog page follow
below Steps:
Step 1: Select "A Static Page" option
Step 2: Select Homepage as Front Page
Step 3: Select Blog page as Posts Page
Step 4: Save Changes
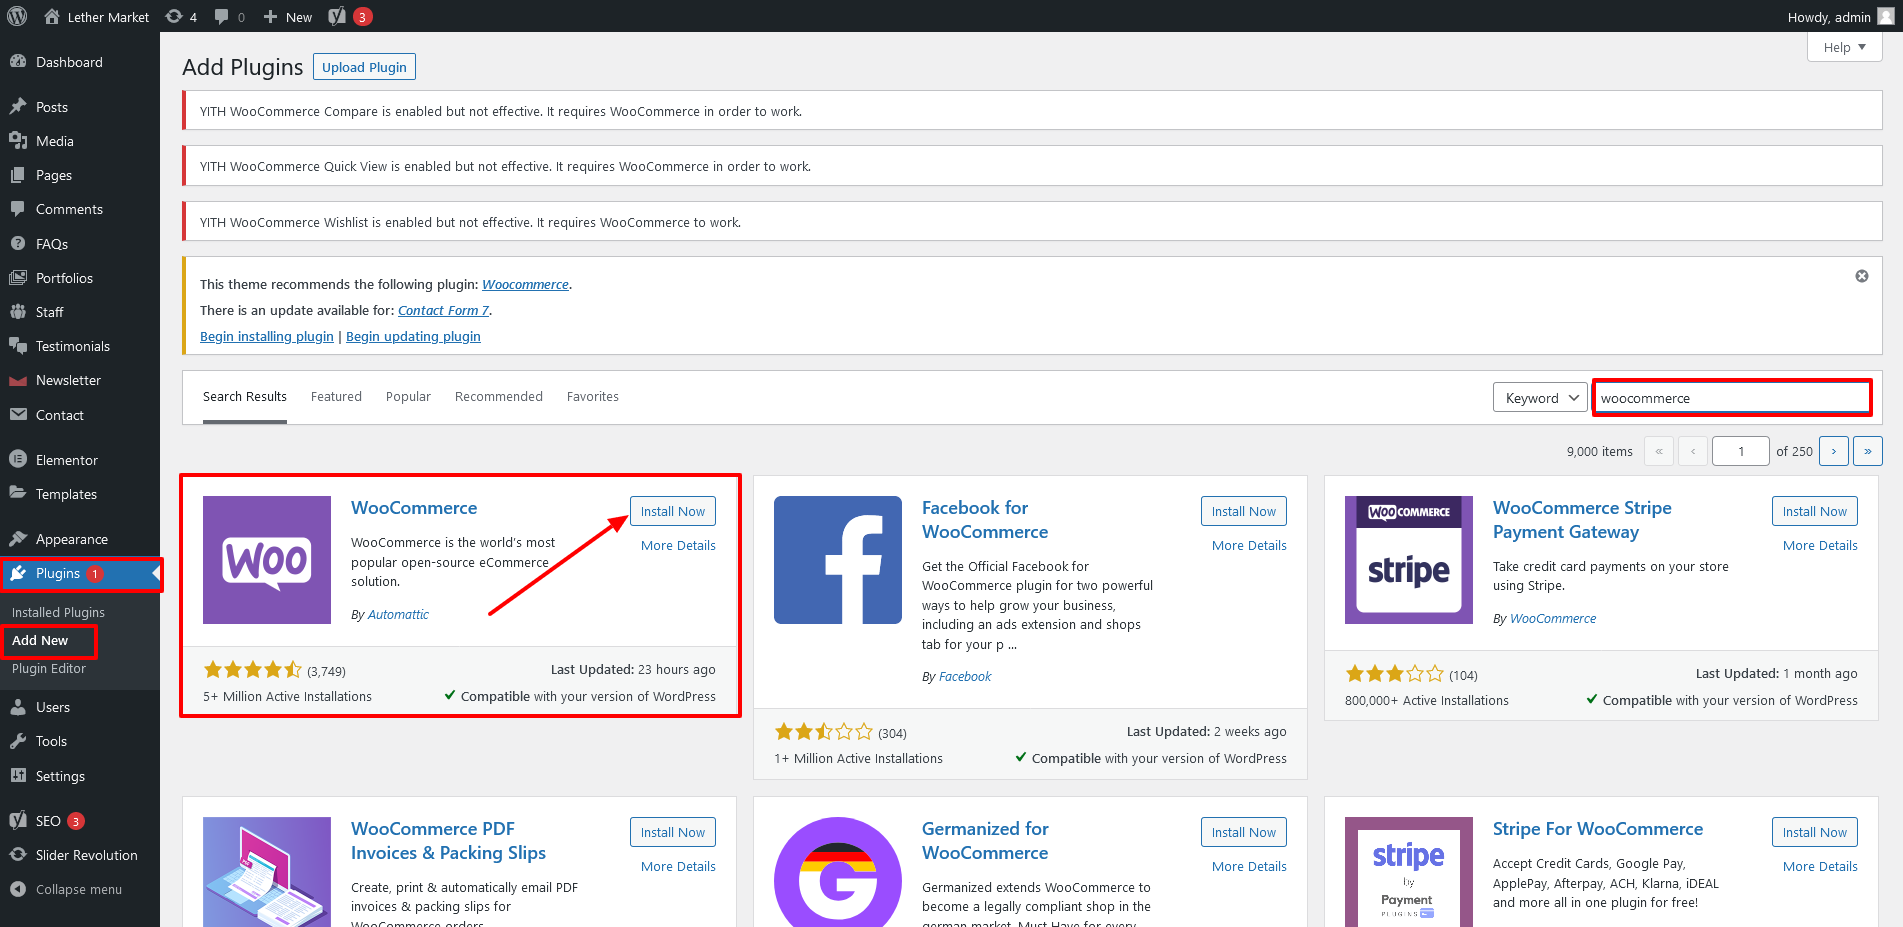
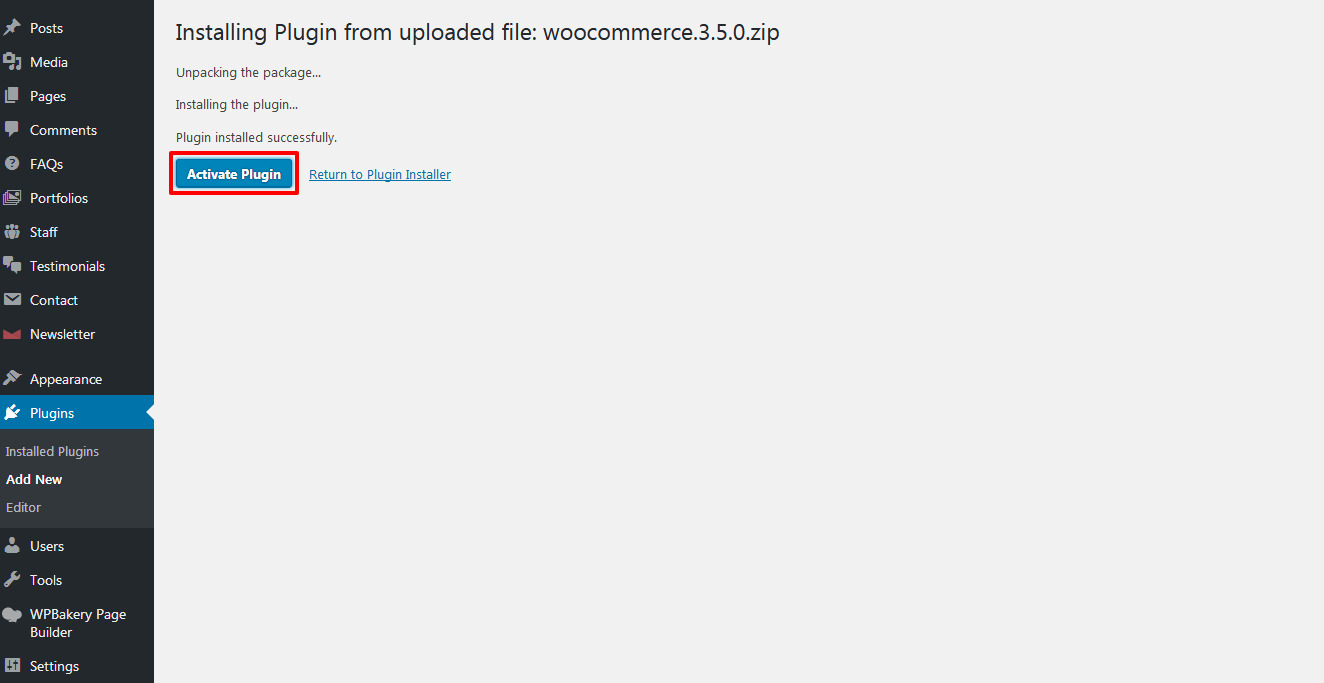
WooCommercepage Configuration
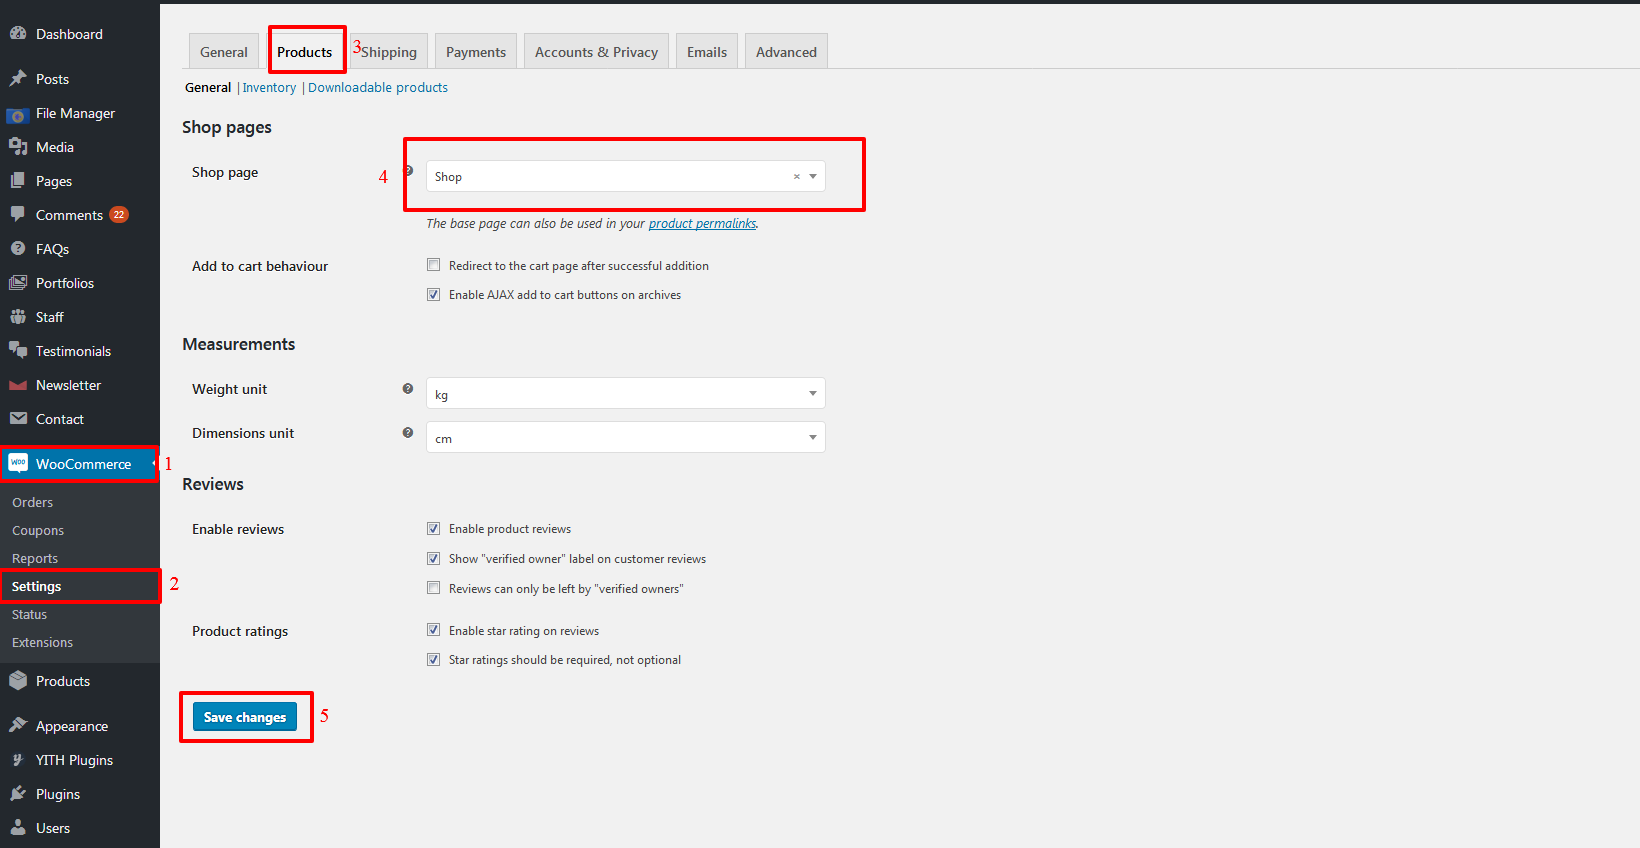
WooCommerce Products Configuration
Admin Panel > Woocommerce > Settings > Products to
change the Products settings.
Step 1: Click on Products tab
Step 2: Select "Shop" as Shop Page
Step 3: Save Changes
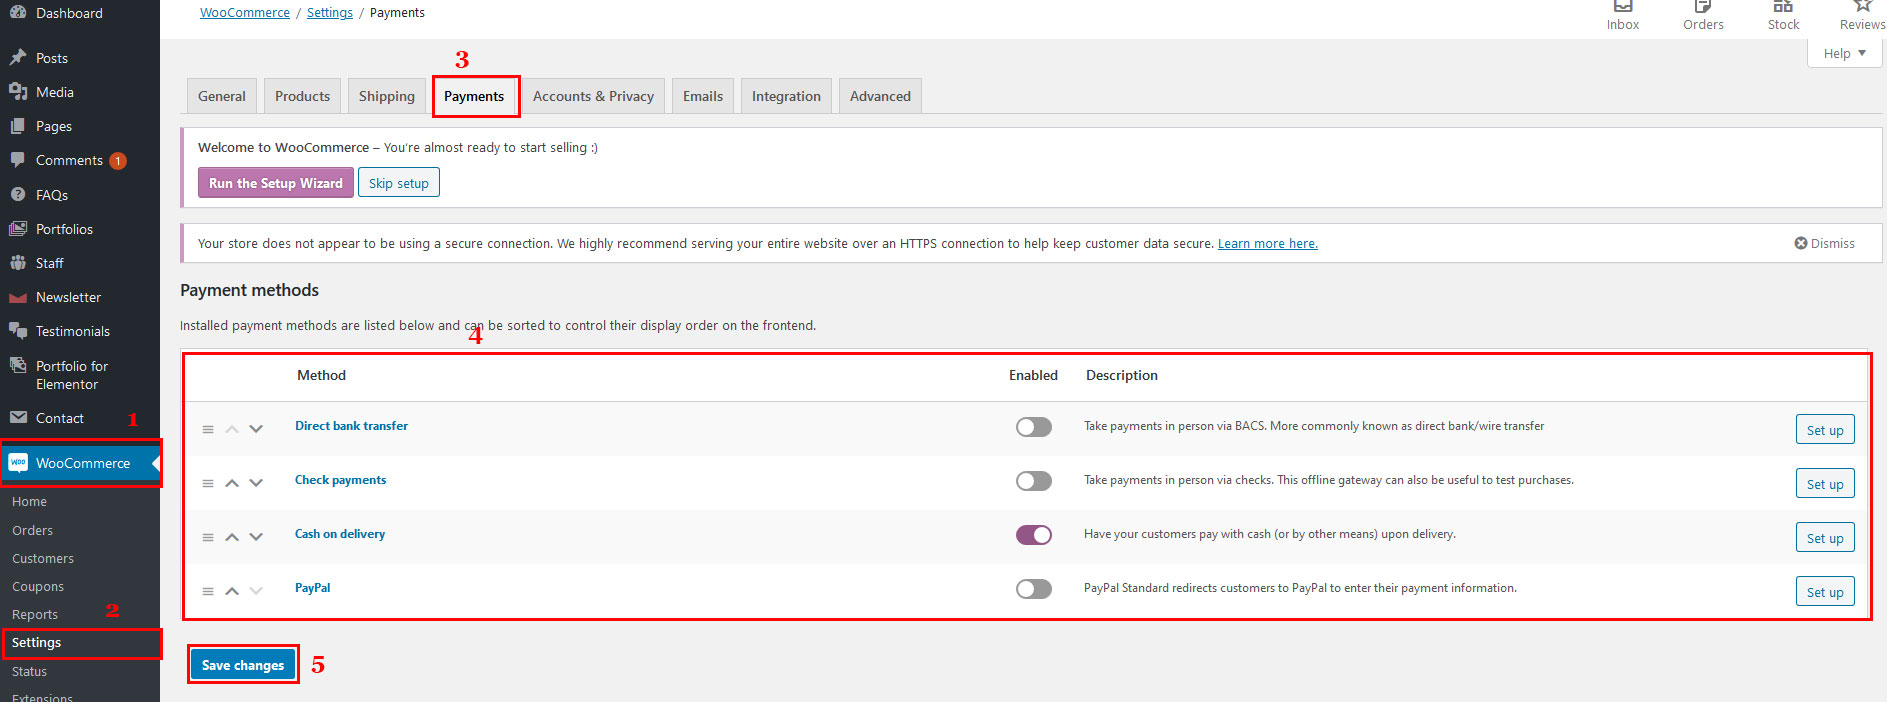
WooCommerce Payments Configuration
Admin Panel > Woocommerce > Settings > Payments to
Select Payment Method.
Step 1: Click on Payments tab
Step 2: Select "Payment Method" as you want to display
Step 3: Save Changes
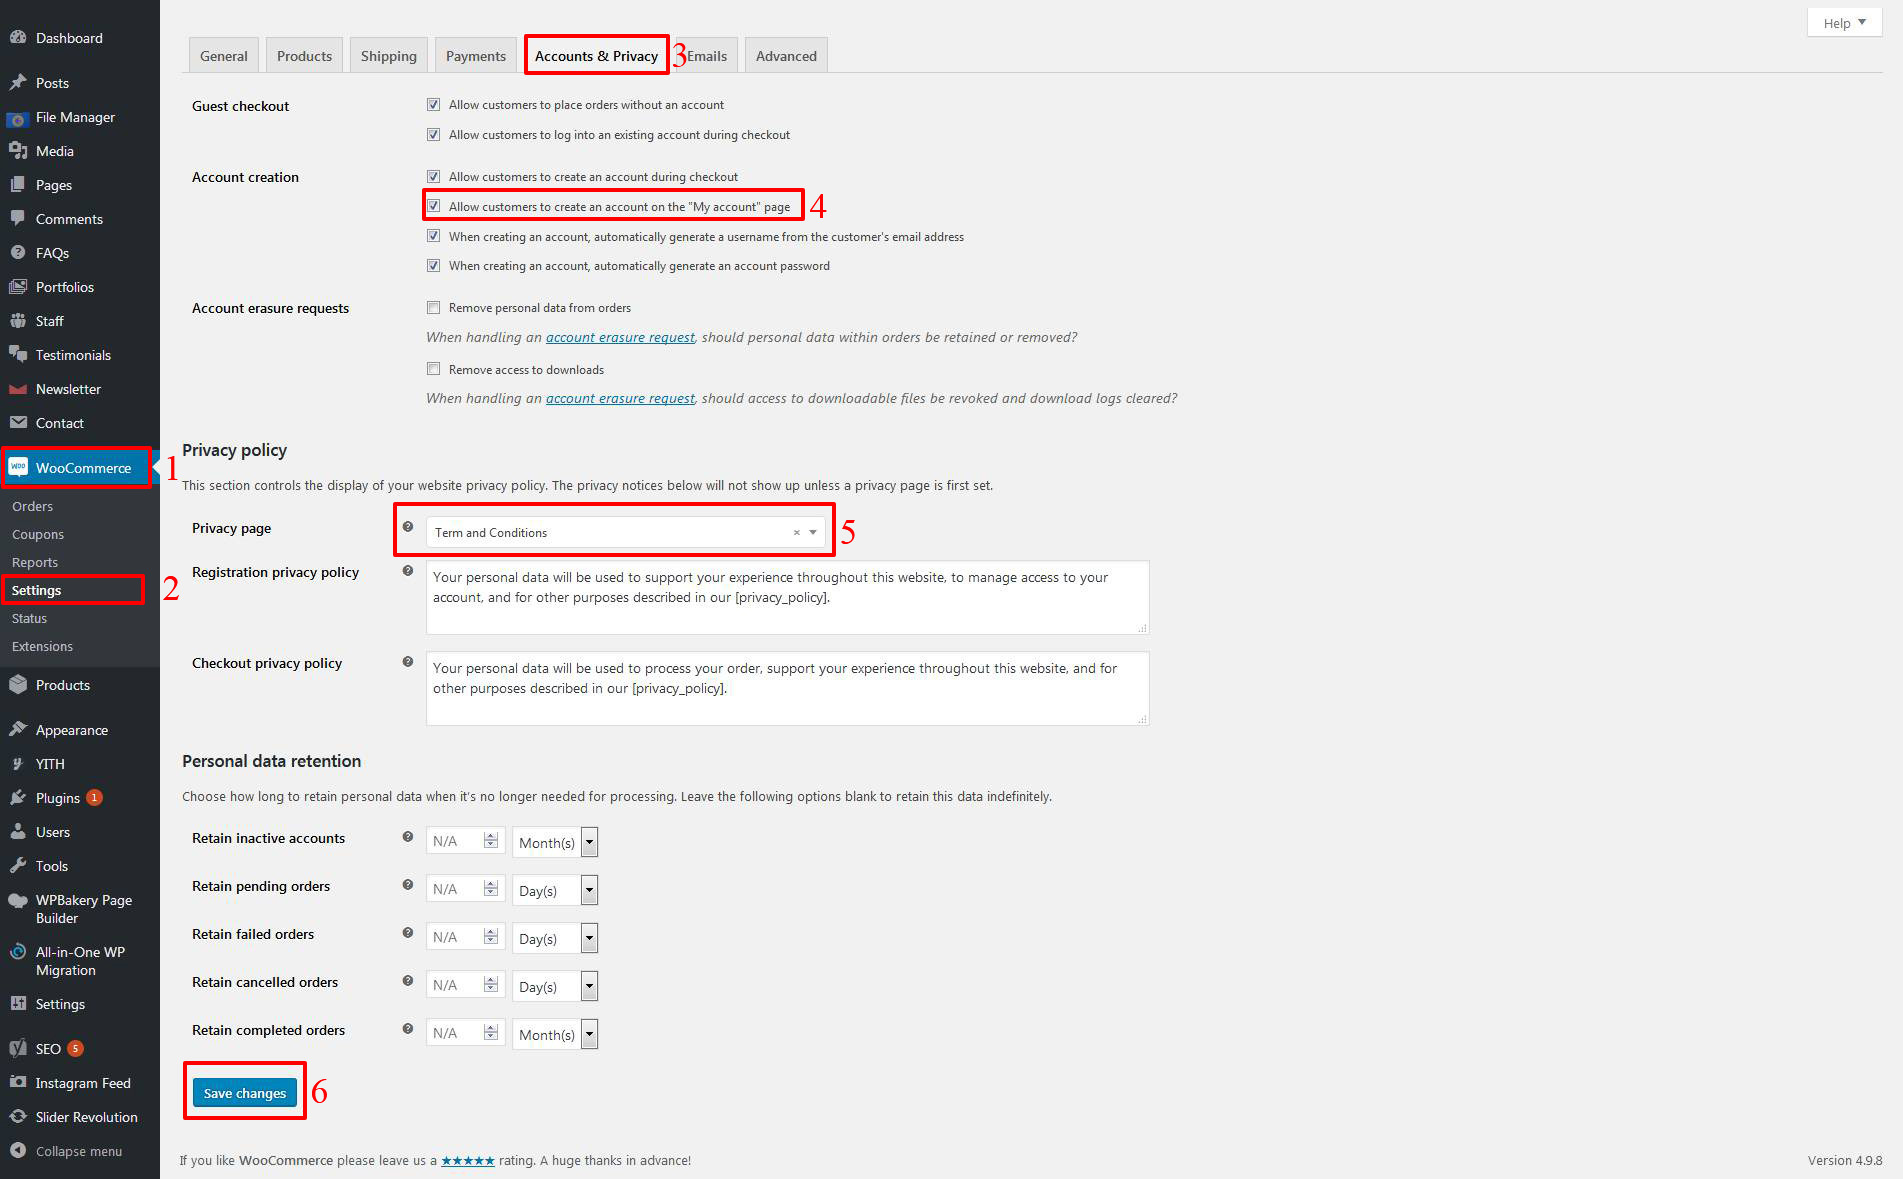
WooCommerce Account & Privacy Configuration
Admin Panel > Woocommerce > Settings > Accounts & Privacy
Step 1: Click on Accounts & Privacy tab
Step 2: Check "Allow customers to create an account on the My account page " in Guest
checkout as you want to display
Step 2: and Below Privacy policy select "term and Conditions" Page In Privacy Page as you
want to display
Step 3: Save Changes
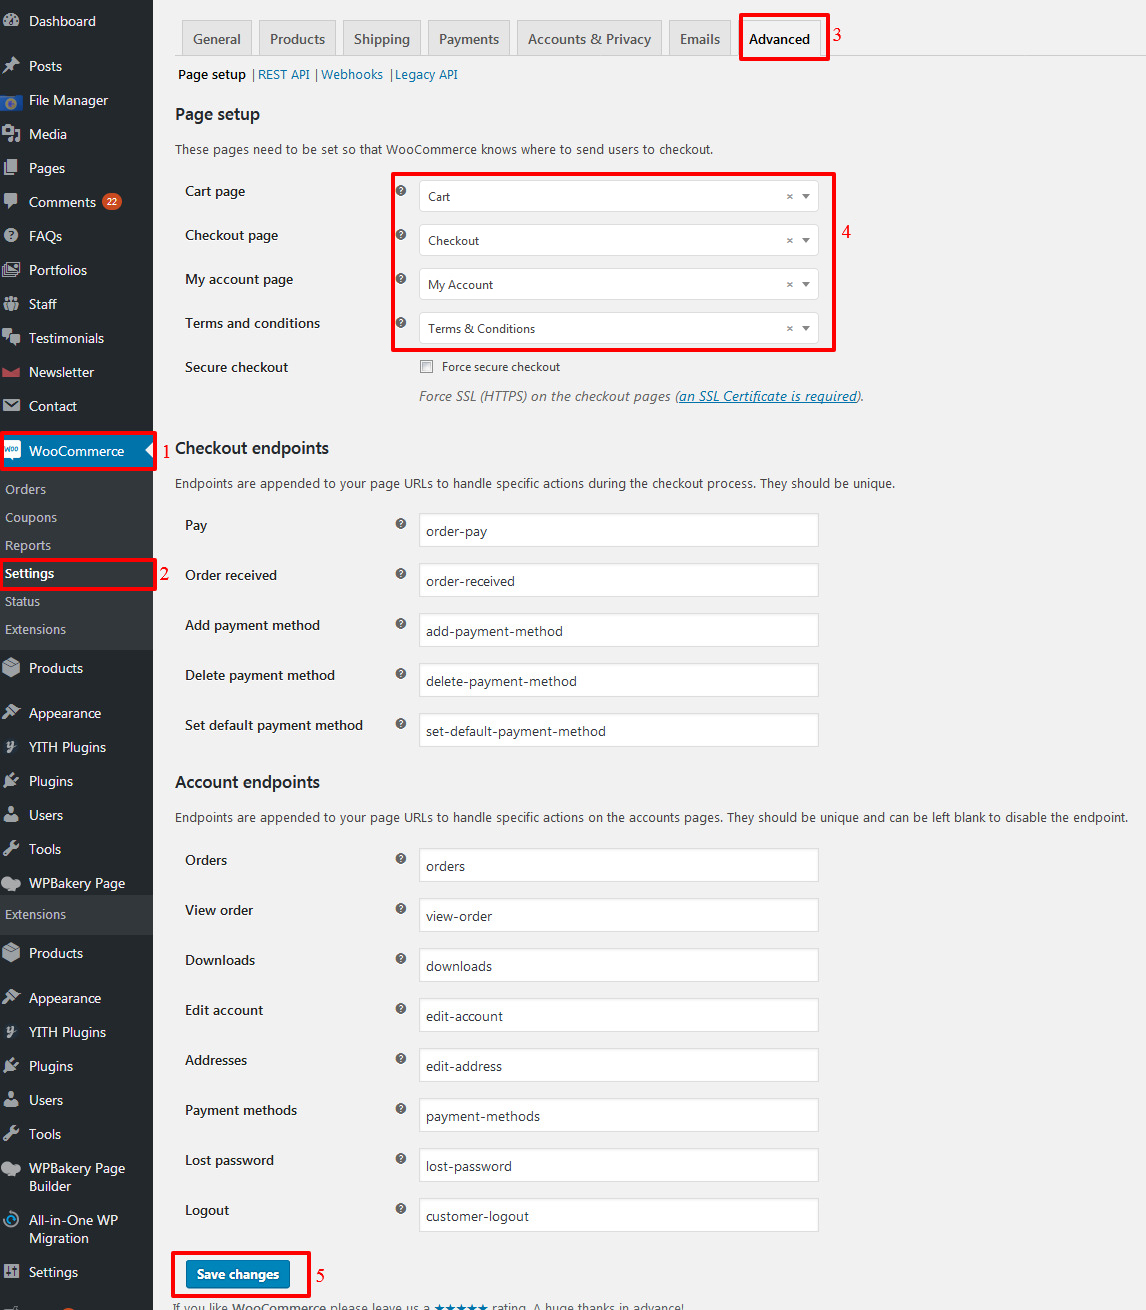
WooCommerce Checkout,Cart, My Account Configuration
Admin Panel > Woocommerce > Settings > Advanced to
Select the Checkout Process and Cart Page and Account Page.
Step 1: Click on Advanced tab
Step 2: Select "Cart" as Cart Page
Step 3: Select "Checkout" as Checkout Page
Step 4: Select "My Account" as My Account Page
Step 5: Select "Terms and Conditions" as Terms and Conditions Page
Step 6: Save Changes
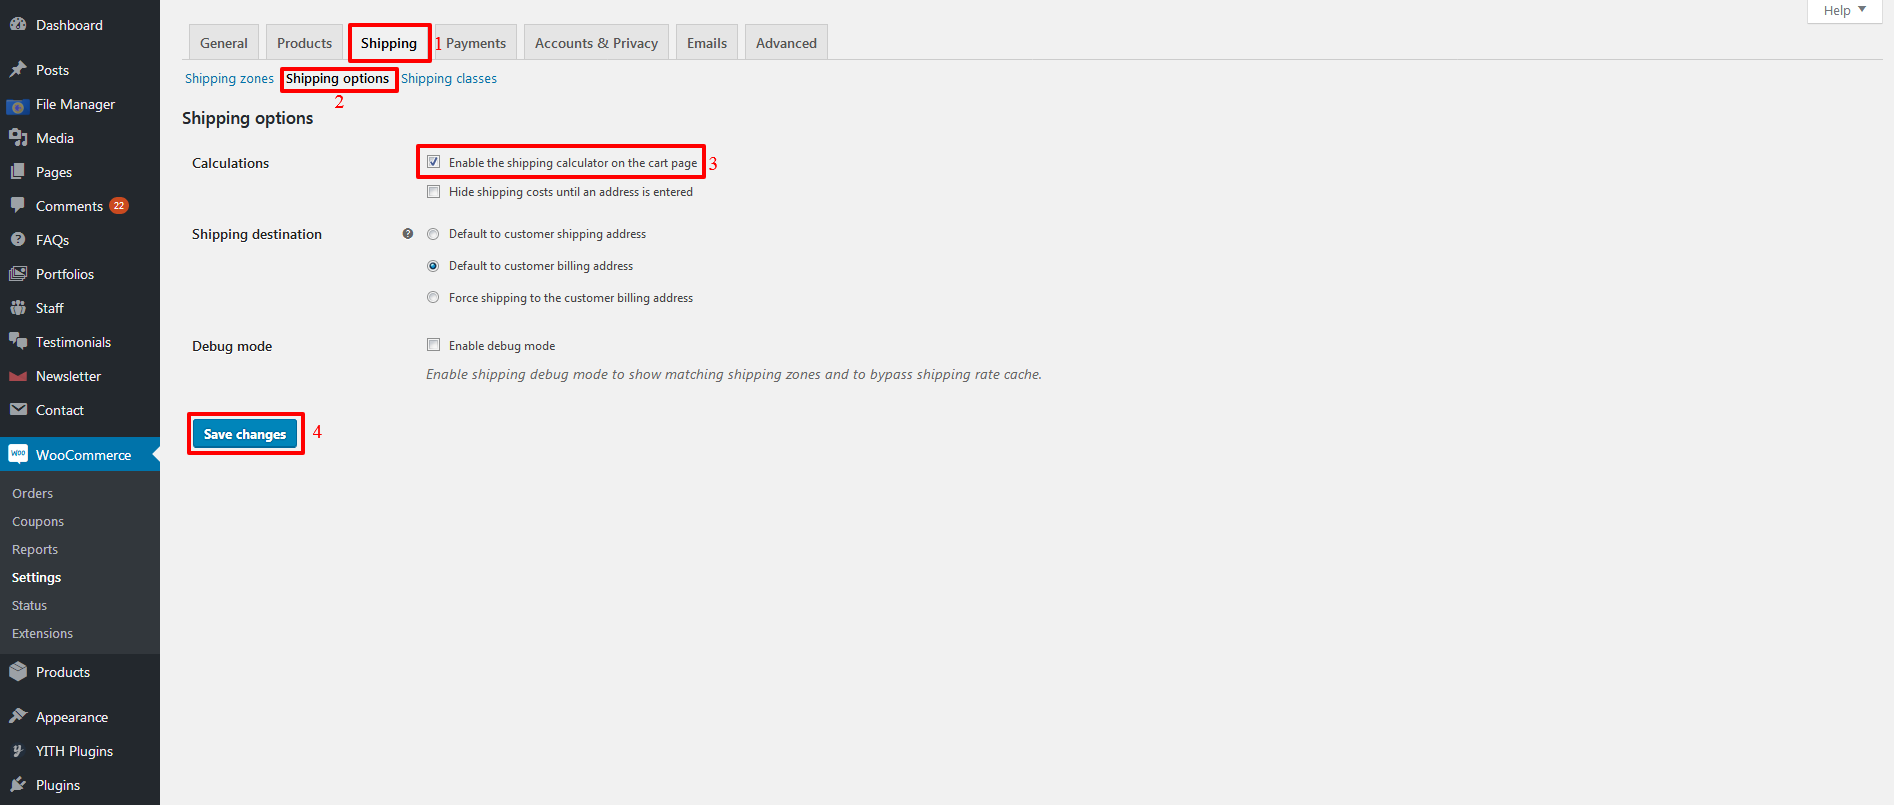
WooCommerce Shipping Configuration
Admin Panel > Woocommerce > Settings > Shipping to
change the Shipping settings.
Step 1: Click on Shipping tab
Step 2: Click on Shipping Options tab
Step 3: Select "Enable shipping" as Shipping Calculations
Step 4: Save Changes
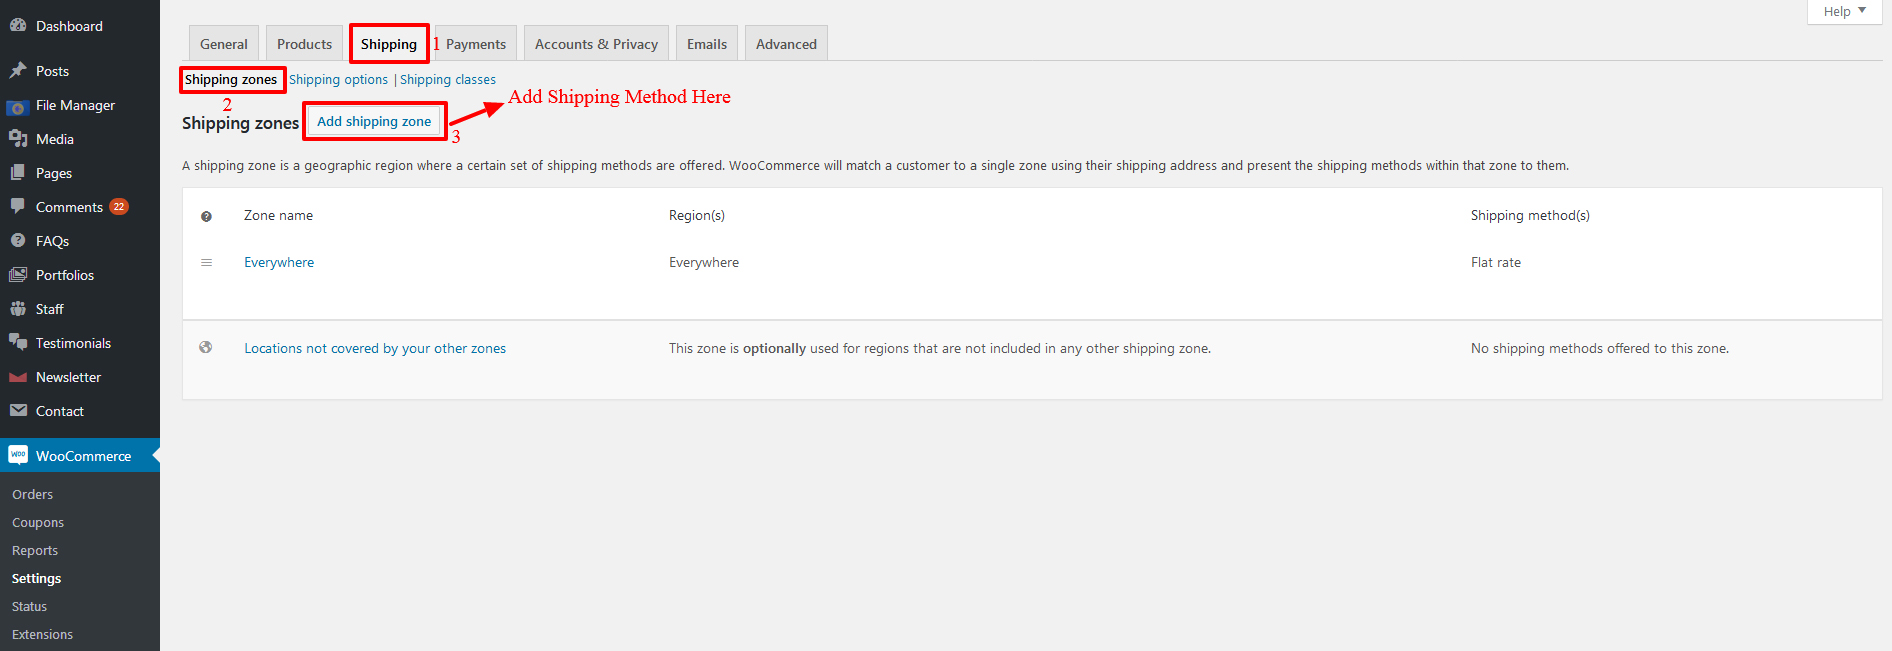
Step 5: To Add Shipping method and zones follow this document
Select Checkbox and Enable other shipping method like Free Shipping , International Flat Rate ,
Local Delivery as Flat Rate.
Step-7 : Shop Configuration
- We are providing different customizer For Shop Configuration.
1. First option
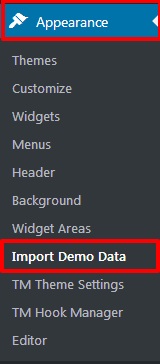
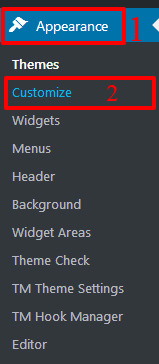
Step 1: Go to Appearance > Customize
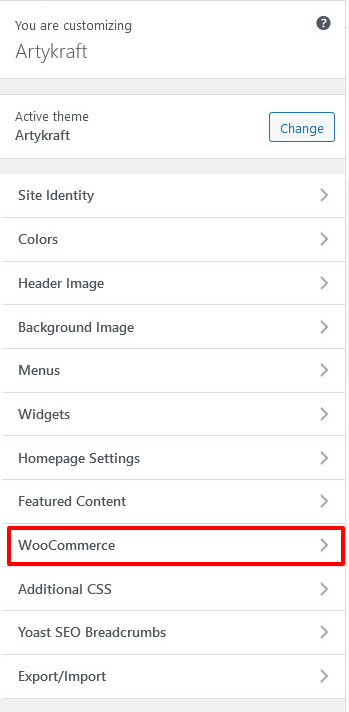
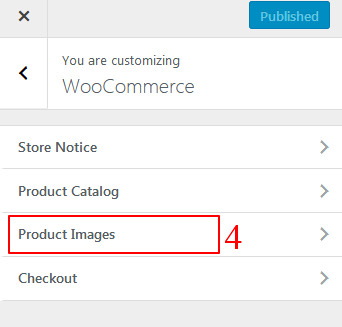
Step 2: Select Woocommerce Tab
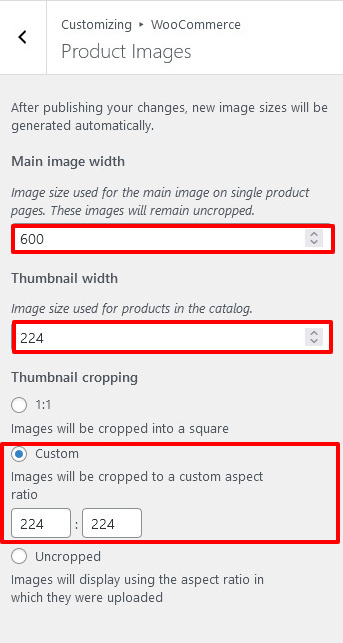
Step 3: Select Product Images Tab
Step 4: Final Set The Product Size And Thumbnail cropping As Mentioned And Click On Publish
Button
2. Second option
Step 1: Go to Appearance > Customize
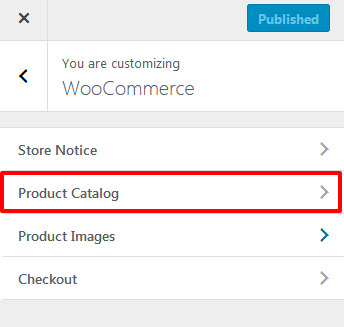
Step 2: Select Woocommerce Tab
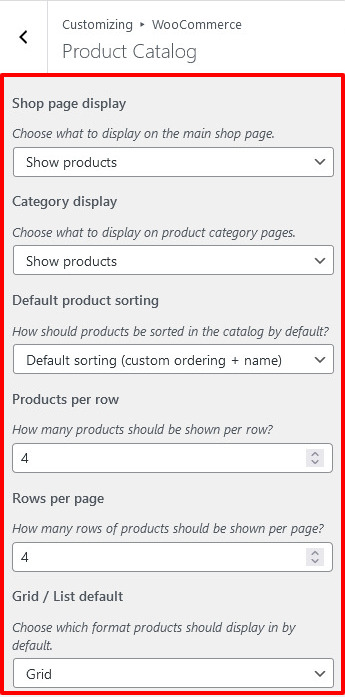
Step 3: Select Product Catalog Tab
Step 4: Final Set From Dropdown As Mentioned And Click On Publish Button
Step 1: Shop Page Display
Choose what to display on the main shop page.
Select Show Products From Dropdown.
Step 2: Category Display
Choose what to display on product category pages.
Select Show subcategories From Dropdown.
Step 3: Default Product Sorting
How should products be sorted in the catalog by default?
Select Default sorting (custom ordering + name)
Step 4: Products Per Row
How many products should be shown per row?
set 3 Products
Step 5: Rows Per Page
How many rows of products should be shown per page?
set 4 Rows
Step 6: Grid / List Default
Choose which format products should display in by default.
Grid Or List