
Gadgeto - Best WooCommerce Theme
Theme Installation Guide
Thank You For purchasing Gadgeto WooCommerce Theme.
Our team would be happy to help when you require. If you have any queries regarding the Theme, please feel free to drop us your query. We will get back to you with answers to your query within 24 hours.
1. Download Complete Layouts
In order to download the whole package of All layouts, you need to download our theme package from your account.
A zip file will be downloaded to your PC
2. Install Theme
Please, read the whole section, before attempting to install the theme.
We recommend to use this theme on a clean installation and always backup your system before making any upgrades or changes!
There are two methods for installing theme
Method 1: Using Admin Panel
Log in to your site Wordpress Admin panel, Go to Appearance Now click on Add New theme
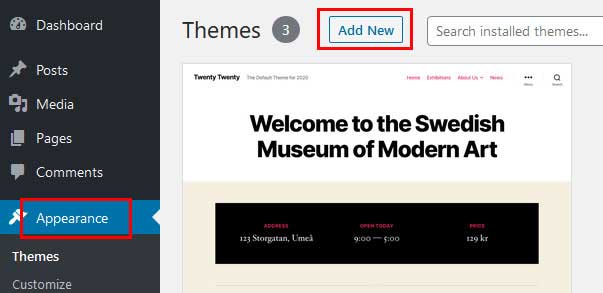
Then click on Upload Theme button.
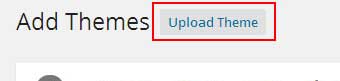
click on Browse and Go to the Package folder and select Theme.

Press Install Now button to install the theme.

Theme has been installed.
Method 2: Via FTP Client
Do not upload the Entire Zip File you get from Package. Please follow following Steps to upload theme via FTP:
Step 1: Extract the package, you have downloaded.
Step 2: After extracting zip file you will get one theme folder.
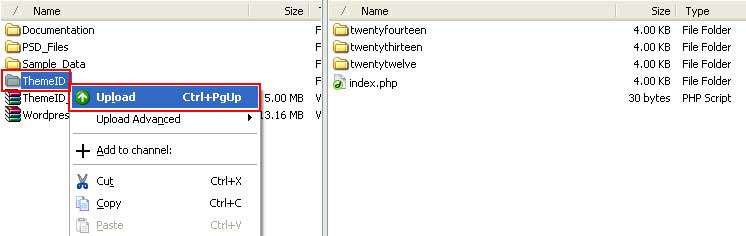
Step 3: Upload the theme folder under "wp-content/themes" directory shown below..
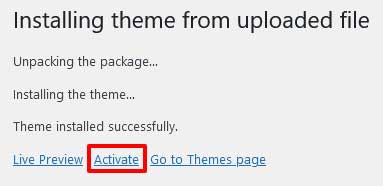
3. How To Activate Theme
After theme installation Click on the Activate Button to activate the theme.
4. Install & Setup Plugins
Go to Appearance > Click on Begin Installing Plugins.

Select install to installed all required and recommend plugins

Plugins has been successfully installed and activate too.
Contact Form 7 Configuration
if contact form not avialable in your store thene follow below steps:
After installing the contact form 7 plugins you have to add some HTML code to create contact form.
1. admin panel > LeftPanel > Click on Contact.2. Click on 'Add New' to create new contact form.
3. Then (if code not same as below copde then) copy the code and paste it to create the contact Form same as our live demo.
                            [text* your-name placeholder "Your Name*"]
                            [email* your-email placeholder "Your Email*"]


                            [text your-subject placeholder "Subject*"]


                            [textarea your-message placeholder "Your Message*"]


                            [submit "Send"]
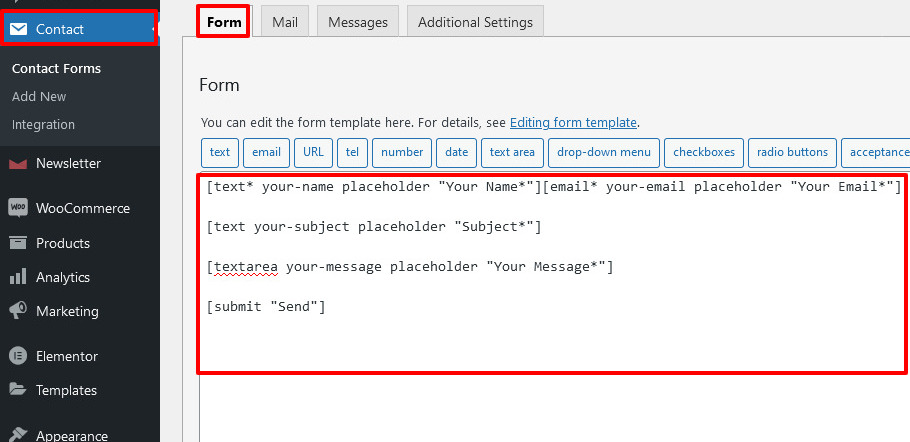
4. Also you have to edit mail field from 'Mail' tab > Save.
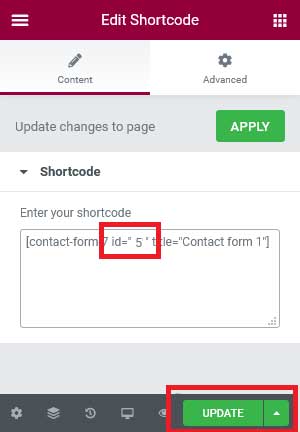
You can display contact form in any page by using its Shortcode.
Elementor Configuration
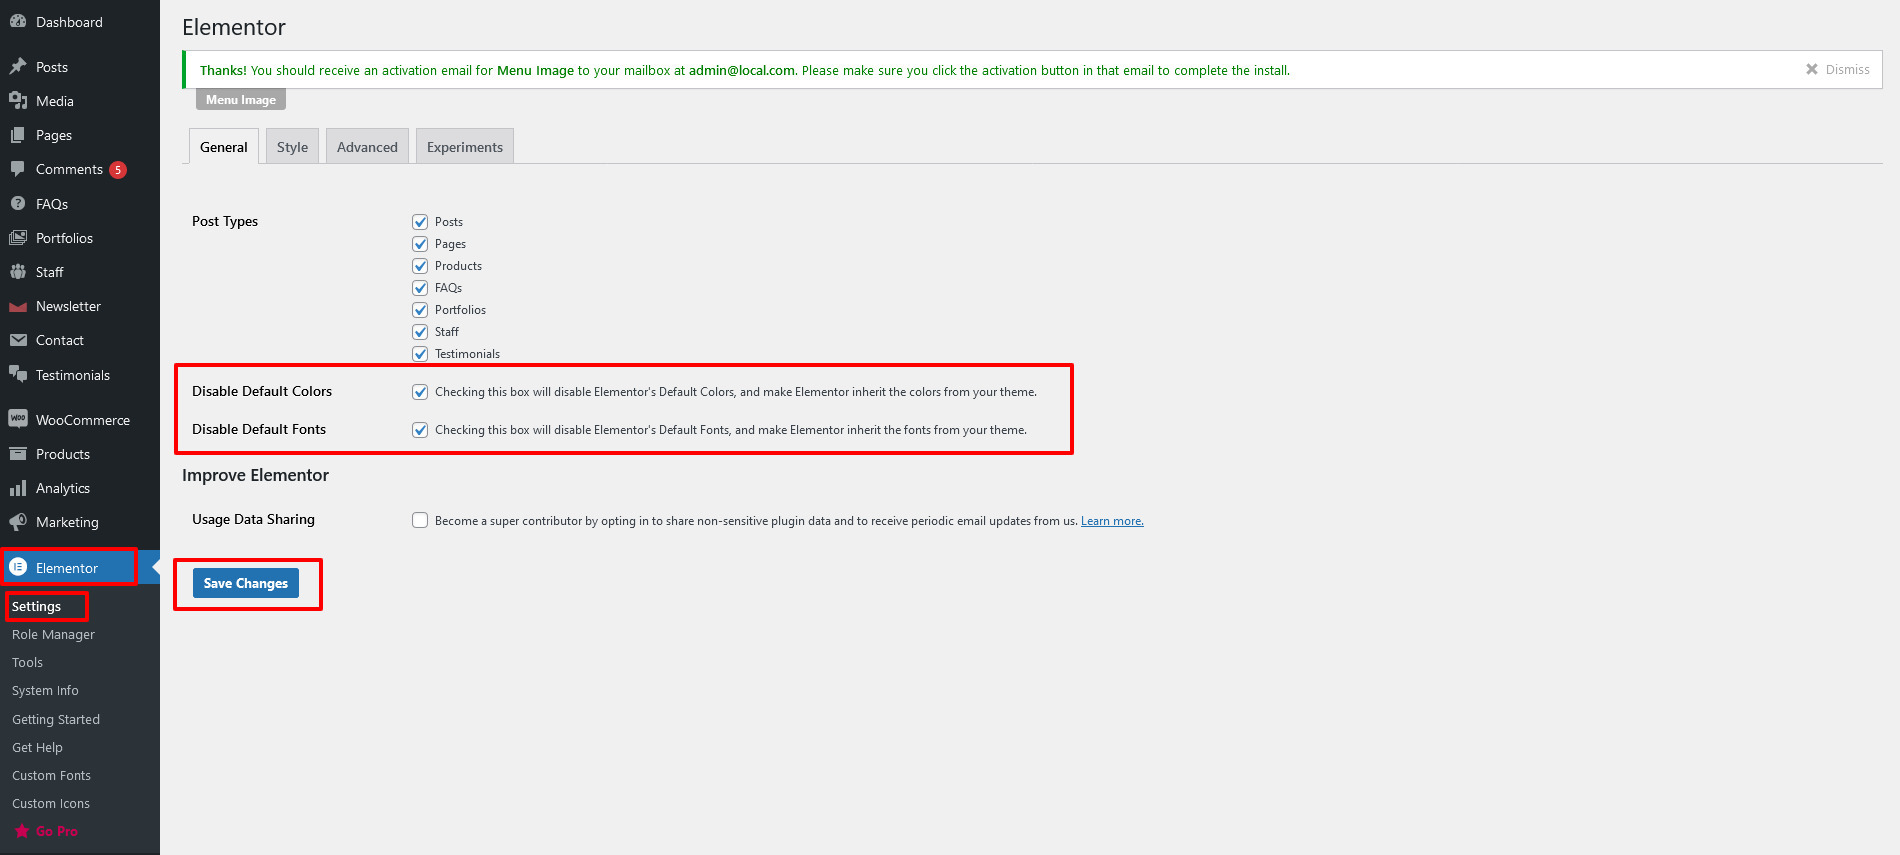
After installing Elemtor plugins and Before Install Theme data or oneclick installation, You have to set below settings :
1. admin panel > LeftPanel > Click on Elementor > Settings > General2. Checking box (To inherit the colors and font from your theme).
like :
- Post Types
- Disable Default Colors
- Disable Default Fonts.
(Note : do not check Usage Data Sharing.)
3. Save Changes.
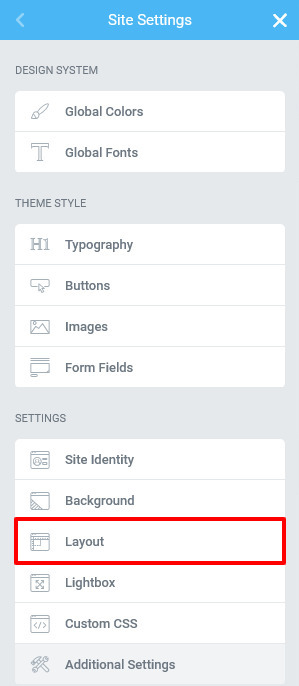
Global Layout Settings
From any Elementor page or post editor > click the hamburger menu in the upper left corner of the Widget Panel
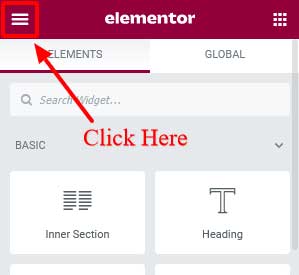
Navigate to Site Settings.

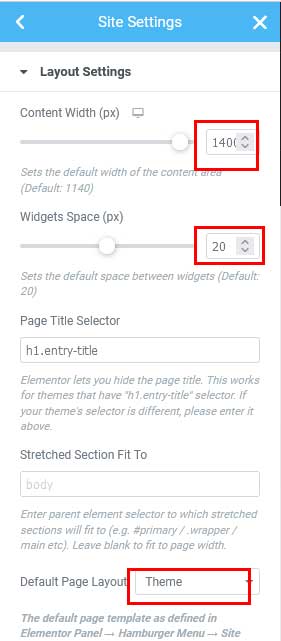
Settings > Layout.
- Content Width (px): Set a default width for your content area
- Widgets Space (px): Set the space between widgets
- Page Title Selector: If you want to hide your page title, enter its CSS selector here
- Stretched Section Fit To: Choose the parent element to which stretched elements will fit
- Default Layout: Set the page layout for new pages, choosing from either Default, Elementor Canvas, or Elementor Full Width
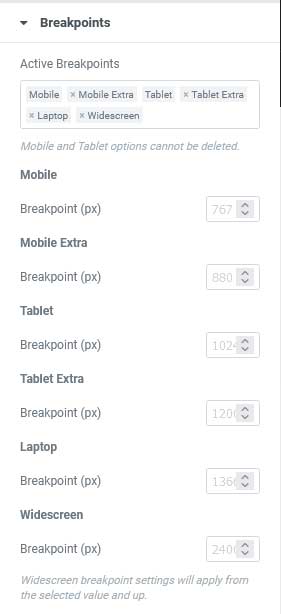
- Tablet: Set the breakpoint for tablet devices. Below this breakpoint, and above the mobile breakpoint, tablet layout will appear (Default: 1025px)
- Mobile: Set the breakpoint for mobile devices. Below this breakpoint, mobile layout will appear (Default: 768px)
5. Import Sample Data
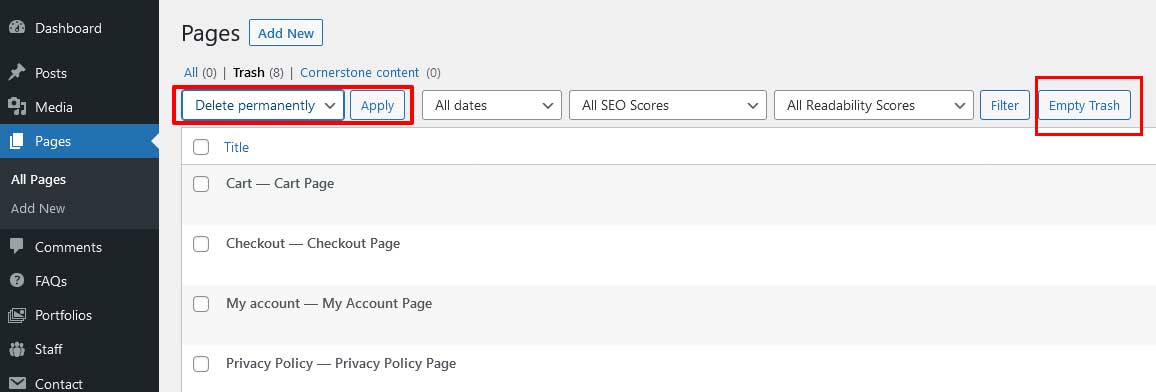
After installing the woocommerce plugins you have to delete extra pages created by WooCommerce plugin.
- Step 1: Go to pages by click on pages.
- Step 2: Select all pages by click on title.
- Step 3: Click on select move to trash.
- Step 4: Apply.

- Step 5: Select all pages by click on title.
- Step 6: Click on Delete permanently.
- Step 7: Apply. or
- Step 5: direct click on 'Empty Trash'.
We are providing sample data to look your store like our Demo
Before this step please check all required plugins are activated and check your server setting first. below details are for server settings.
- upload_max_filesize (512M)
- max_input_time (300)
- memory_limit (512M)
- max_execution_time (300)
- post_max_size (512M)
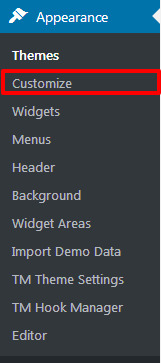
- Step 1: Go to Admin Panel > Appearance > Import Demo Data
- Step 2: click on 'Import Demo Data' button
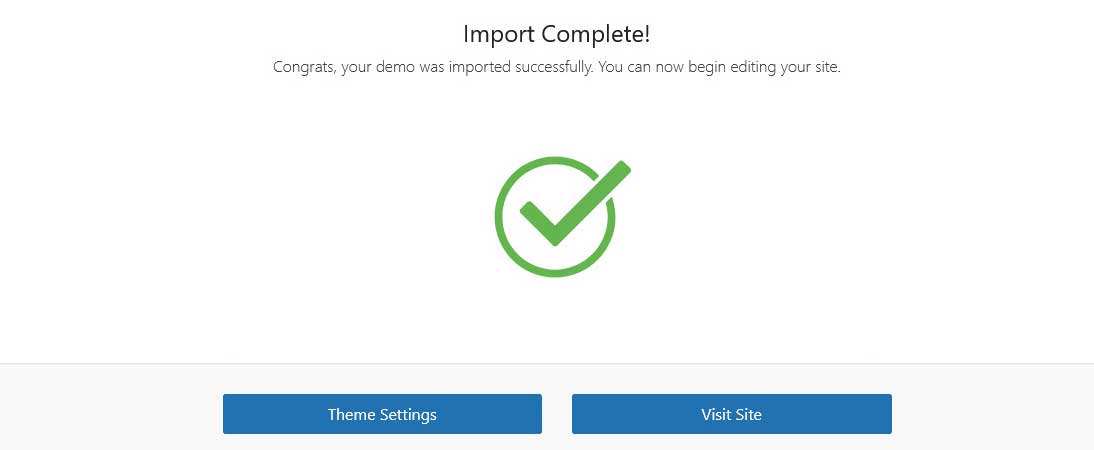
- Step 3: Continue & Import
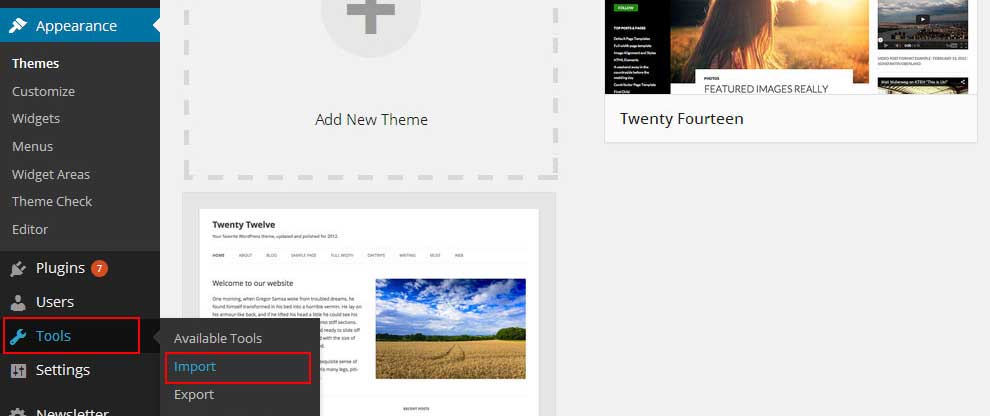
- Step 1: Go to Admin Panel > Appearance > Tools > Click on Import.
- Step 2: Click on Install Now to install WordPress Installer.
- Step 3: Click on Activate Plugin & Run Importer to activate WordPress Installer.
- Step 4: Click on Browse button to select the Sample Data file.
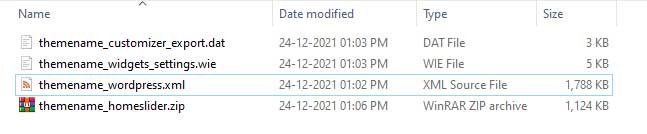
- Step 5: Select XML formate (theme_name.xml) sample data file from Theme Package. Then Click on Upload File and Import button.
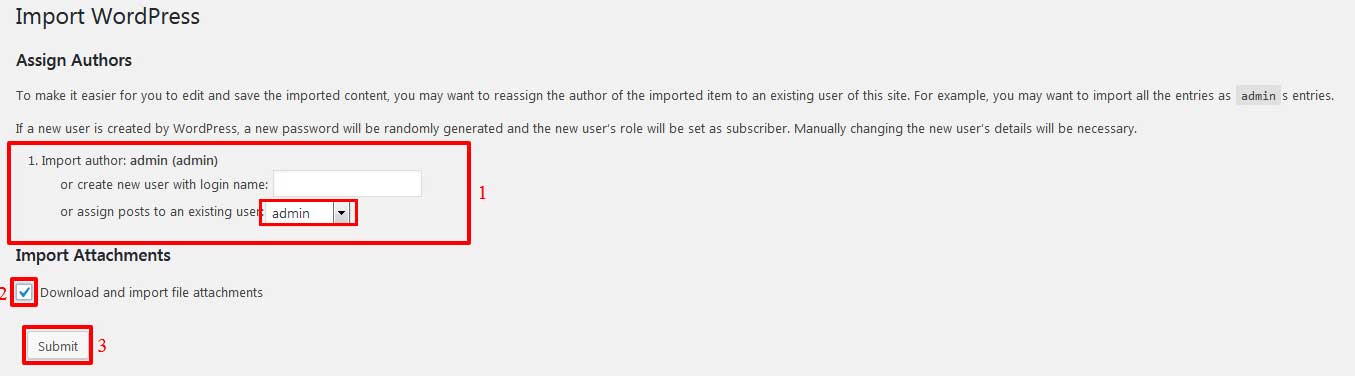
- Step 6: Select the Author you want to assign the user of sample data as author, Check 'Download and import file attachments' > Submit
- then wait for while.....All XML Data is imported..
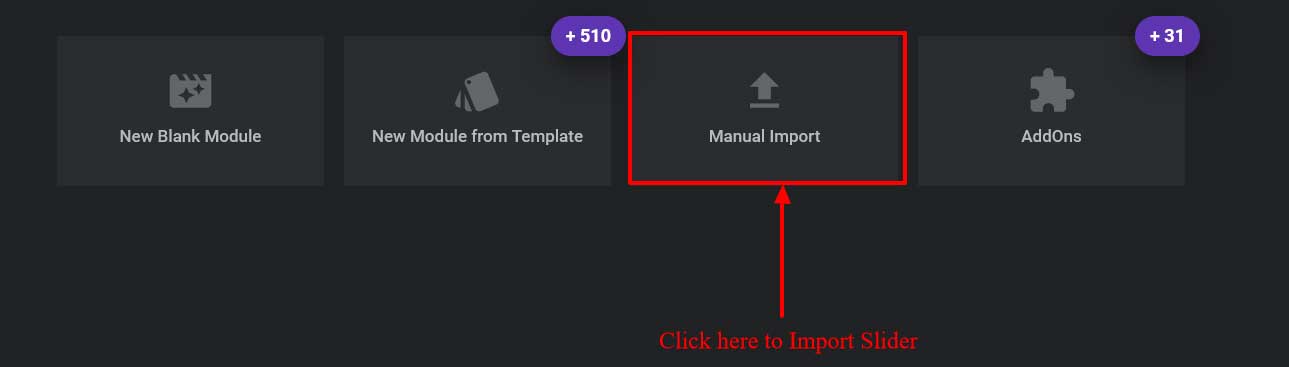
- Step 1: Import revolution slider from Admin > Revolution Slider
- Step 2: Click on Manual Import > Browse the themename_homeslider.zip files from sample data
- Step 3: Click on import Slider button -> Submit.
- then wait for while...Slider imported.
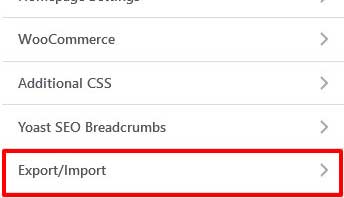
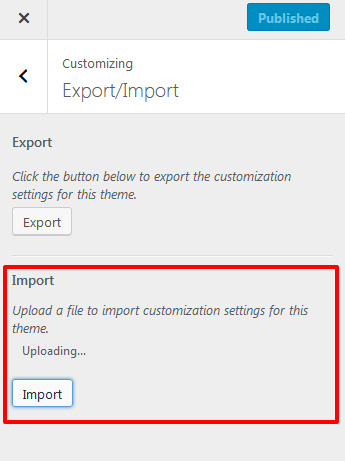
- Step 1: Appearance -> Customizer
- Step 2: Click on Export/Import
- Step 3: Browse Package_name\Sample Data\themename_customizer_export.dat
> select checkbox Download and Import Files? - Step 4: Import button.
- wait for while your data is imported...
- Step 1: Tools -> Widget Importer & Exporter.
- Step 2: Browse and Select package_name \ Sample Data \ themename_widgets_settings.wie file from package.
- Step 3: Import Widgets.
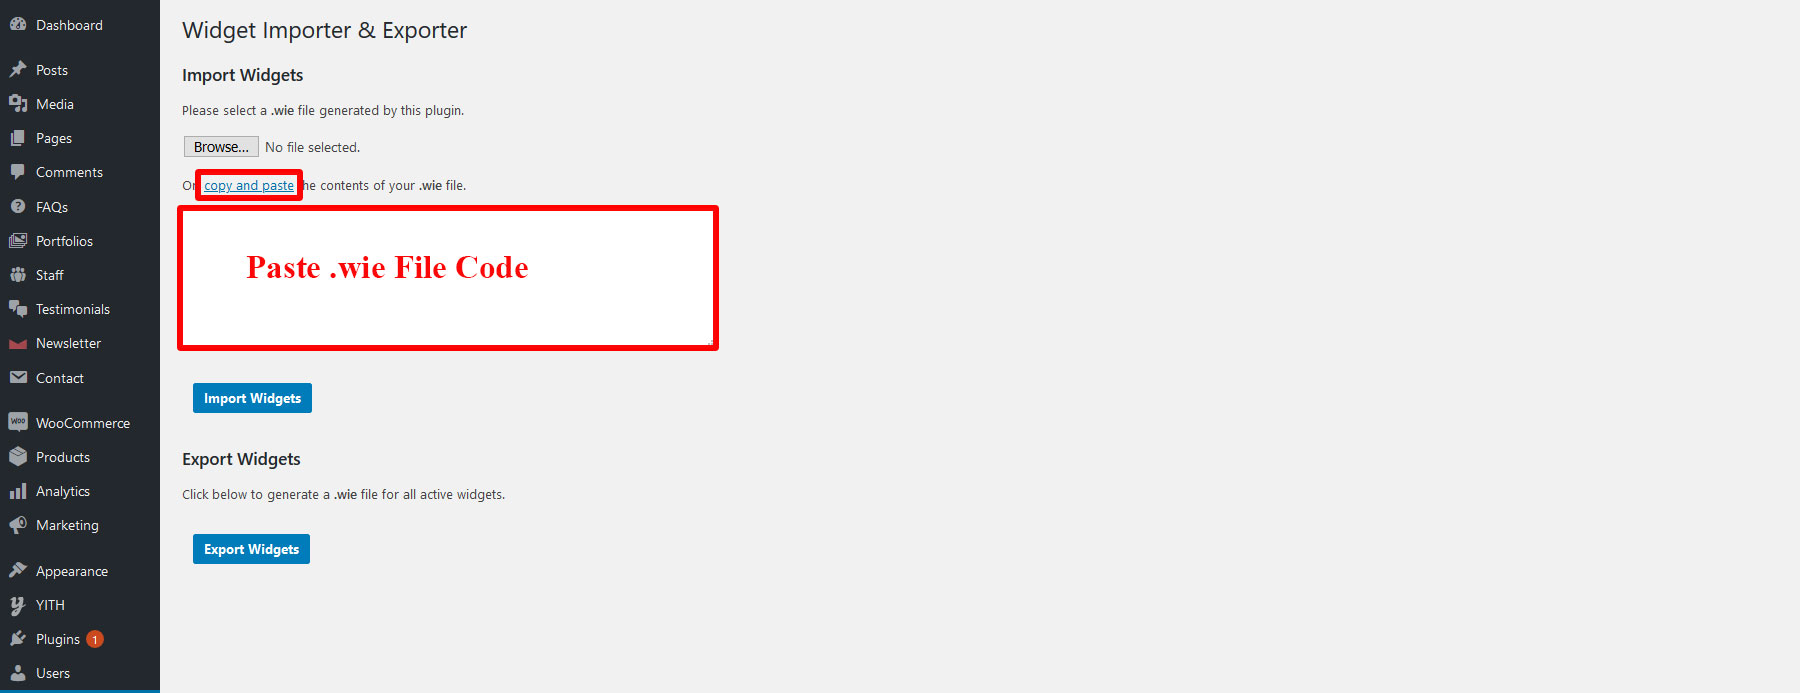
- Step 1: Open package_name\Sample Data\themename_widgets_settings.wie file from package.
- Step 2: copy content from .wie file
- Step 3: click on 'copy and paste' link.
- Step 4: Paste the contents of your .wie file in box.
- Step 5: click on Import Widgets.
- Wait for while...Widgets data imported.
One Click Installation
Please refer our video for One Click Installation.


then wait for while.....All Data is imported.
Manually Installation
Please refer our video so you will understand Theme installation step by step easily.
Please Follow below steps to importa all store data manually:
Import XML file


If you are not checking this checkbox, you will not be able to get the images and you will get "Failed to import Media". Still do not bother about this message. Only the thing is you will not get images, which you definitely will replace for your store.

Slider Configuration

Import Customizer data
You have already installed Customizer Export\Import Plugin.

Widget data
If you face any issue here then please follow below steps to import widgets data
Page Configuration
Home & Blog page
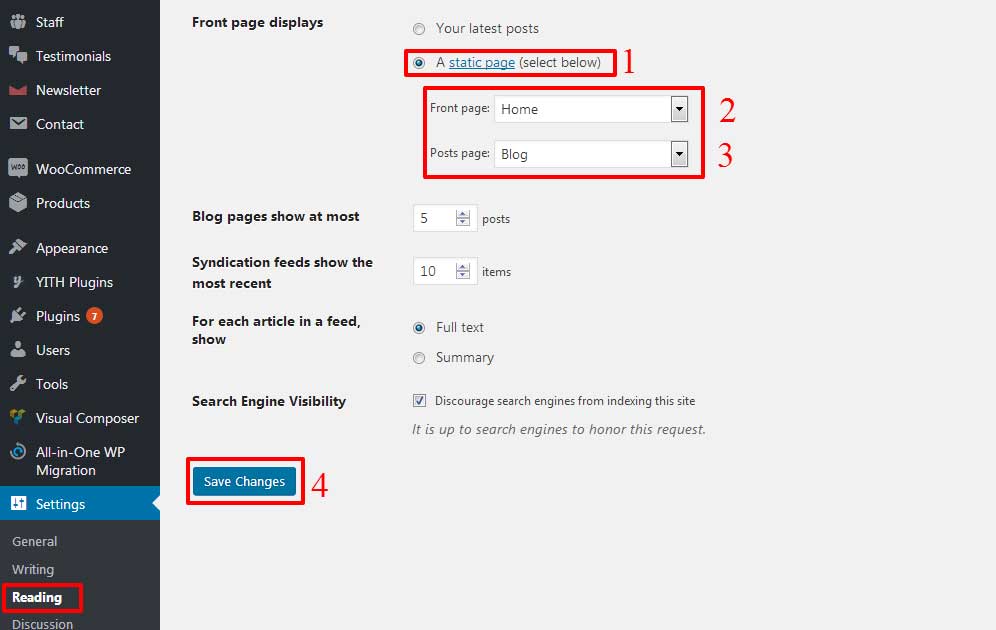
To display Homepage as landing page and posts listing page as Blog page follow below Steps:
- Step 1: Go to Admin > Settings > Reading > Reading settings.
- Step 2: Select "A Static Page" option.
- Step 3: Select Homepage as Front Page & Blog page as Posts Page.
- Step 4: Save Changes
WooCommerce pages Configuration
Admin Panel > WooCommerce > Settings :click here for more infomation about WooCommerce setting
> Product Tab :
- Step 1: Click on Products tab
- Step 2: Select "Shop" as Shop Page.
- Step 3: Save Changes

> Payments Tab :
- Step 1: Go to: WooCommerce > Settings > Payments to control which payment gateways are enabled.
- Step 1: Installed gateways are listed and can be dragged and dropped to control the order in which they display to customers on the checkout.
Another way to configure settings is to select Set Up or Manage. You can also use the Enabled toggle to turn a gateway on or off:

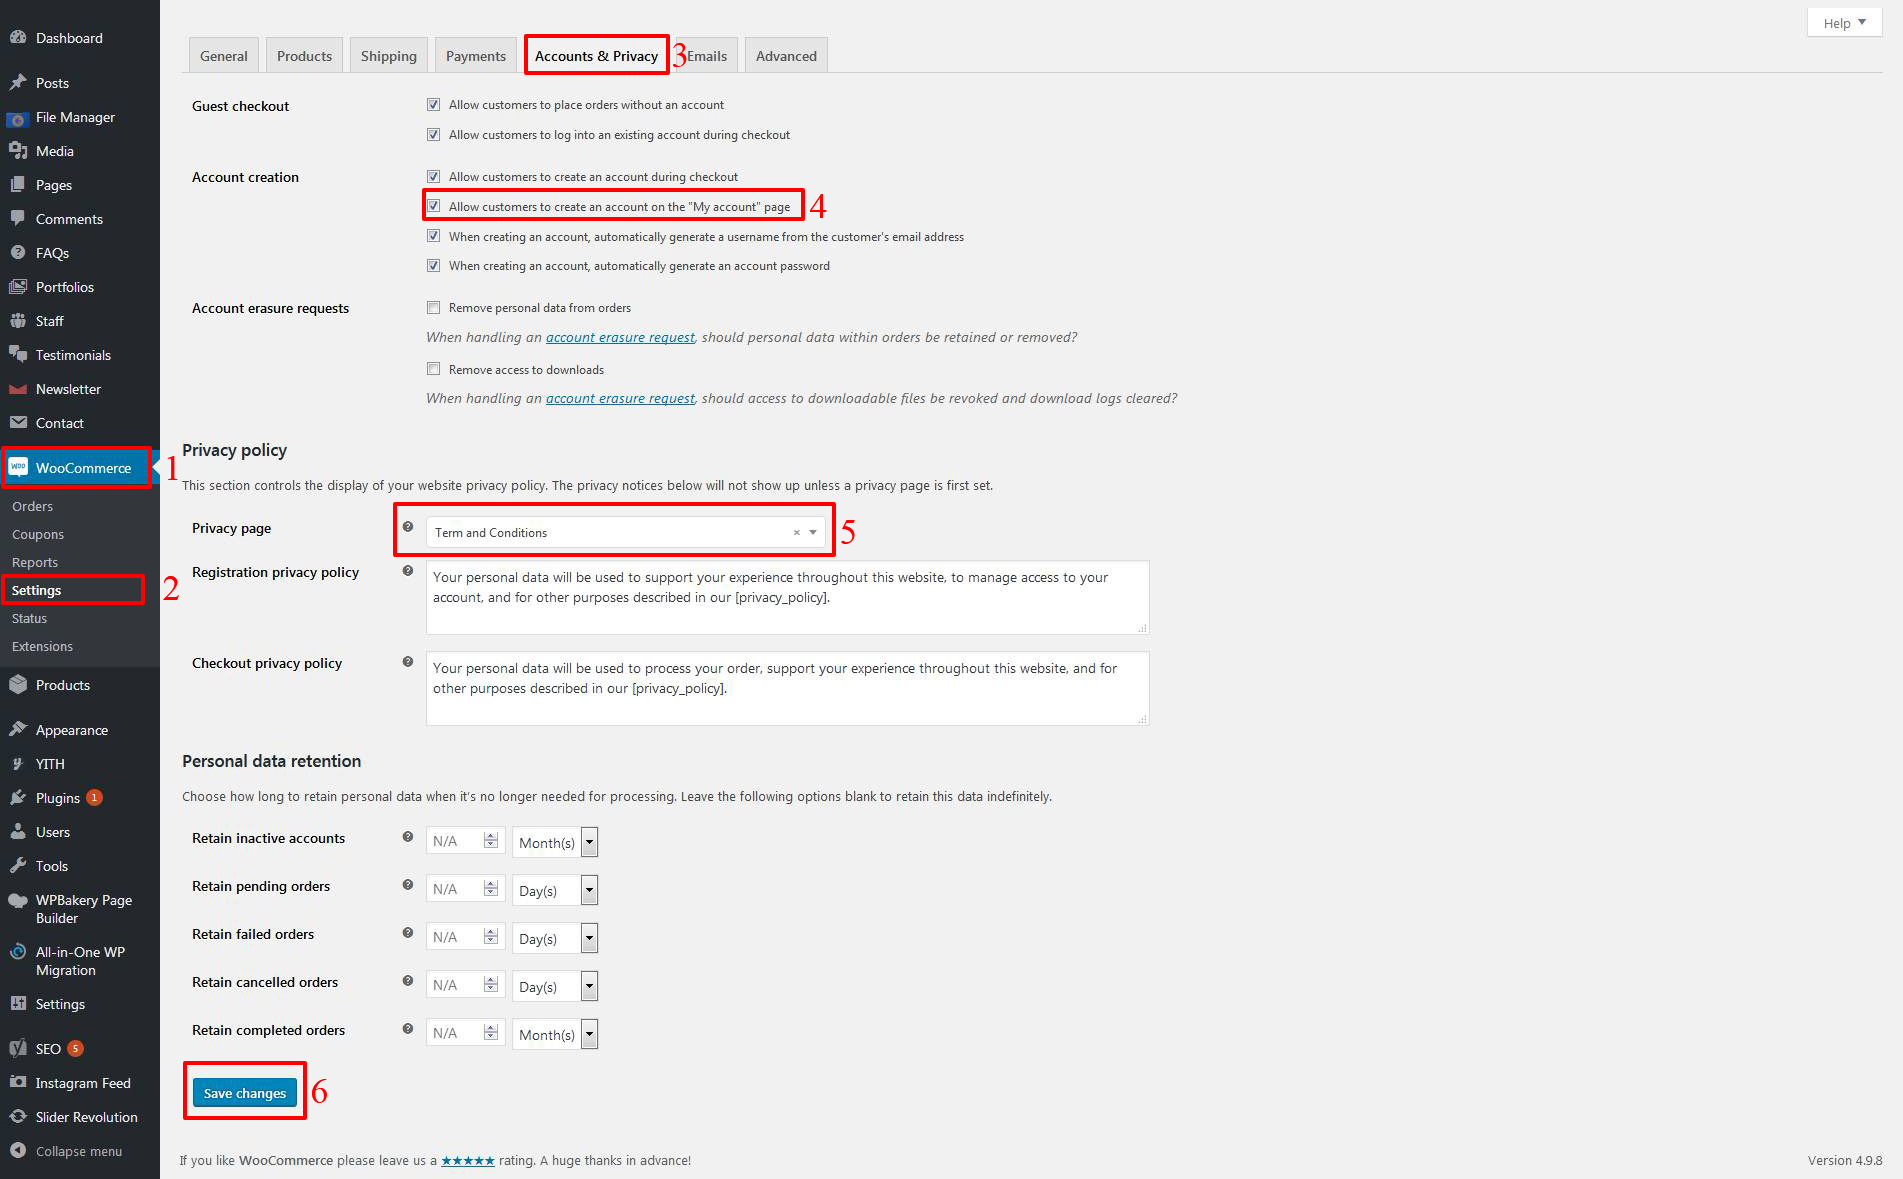
> Account & Privacy Tab :
- Step 1: Click on Accounts & Privacy tab
- Step 2: Check "Allow customers to create an account on the My account page " in Guest checkout as you want to display
- Step 3: and Below Privacy policy select "term and Conditions" Page In Privacy Page as you want to display
- Step 4: Save Changes
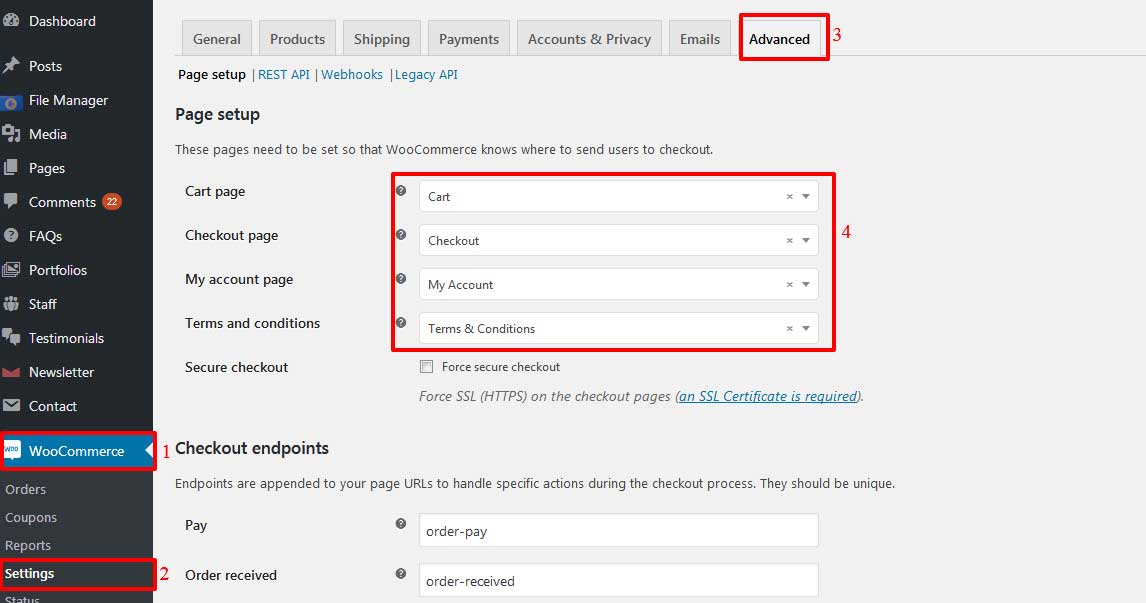
> Advanced Tab :
- Step 1: Click on Advanced tab
- Step 2: Select "Cart" as Cart Page,"Checkout" as Checkout Page, "My Account" as My Account Page, "Terms and Conditions" as Terms and Conditions Page.
- Step 3: Save Changes
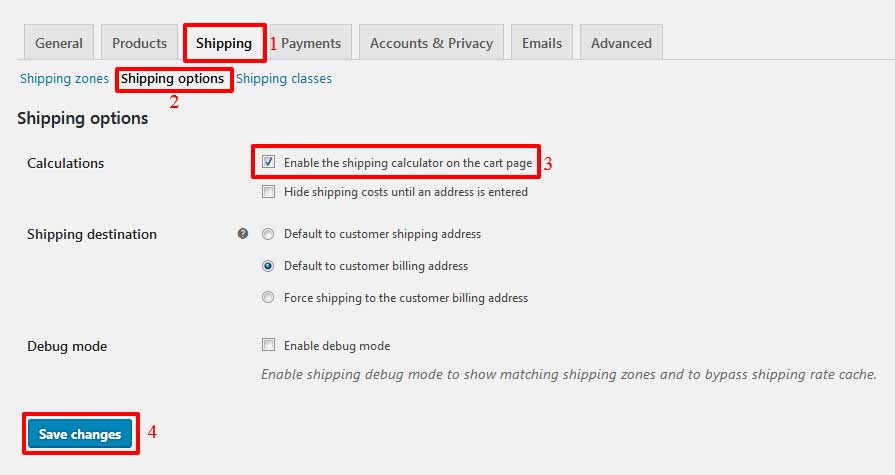
> Shipping Tab :
- Step 1: Click on Shipping tab
- Step 2: Check "Allow customers to create an account on the My account page " in Guest checkout as you want to display .
- Step 3: and Below Privacy policy select "term and Conditions" Page In Privacy Page as you want to display
- Step 4: Save Changes
Menu Setting
Admin Panel > Appearance > Menu :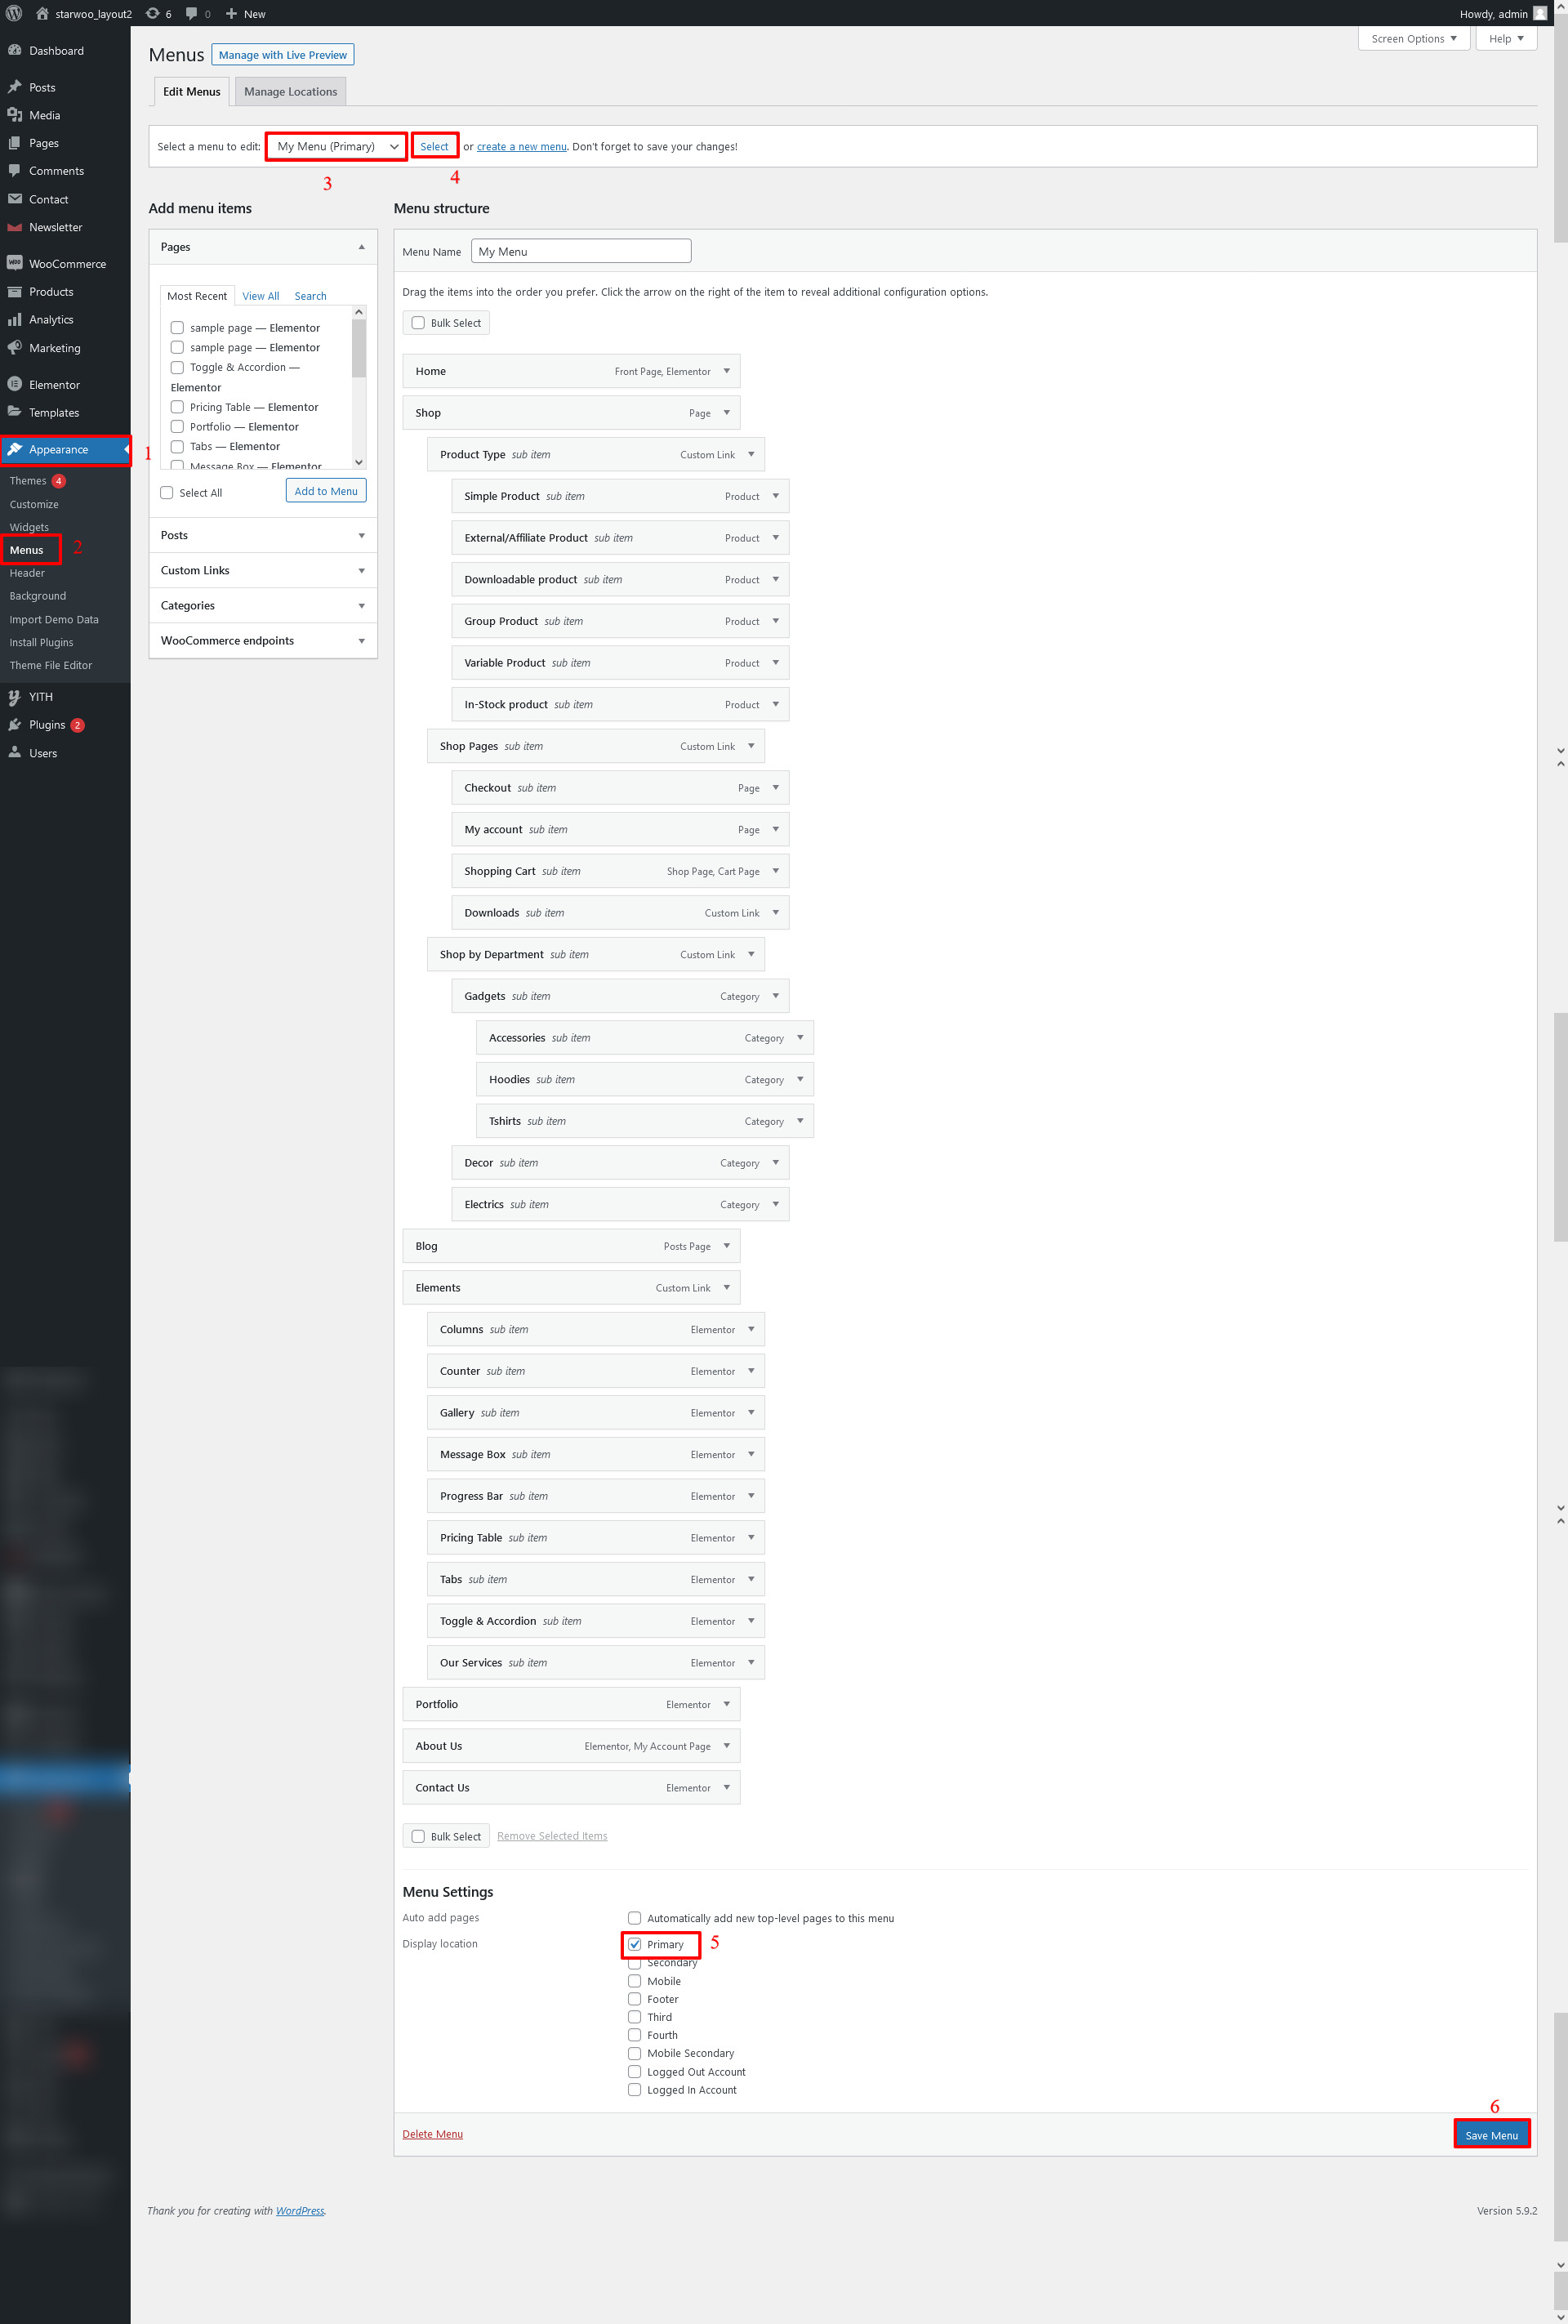
Store is not appear same like Theme demo, what can I do?
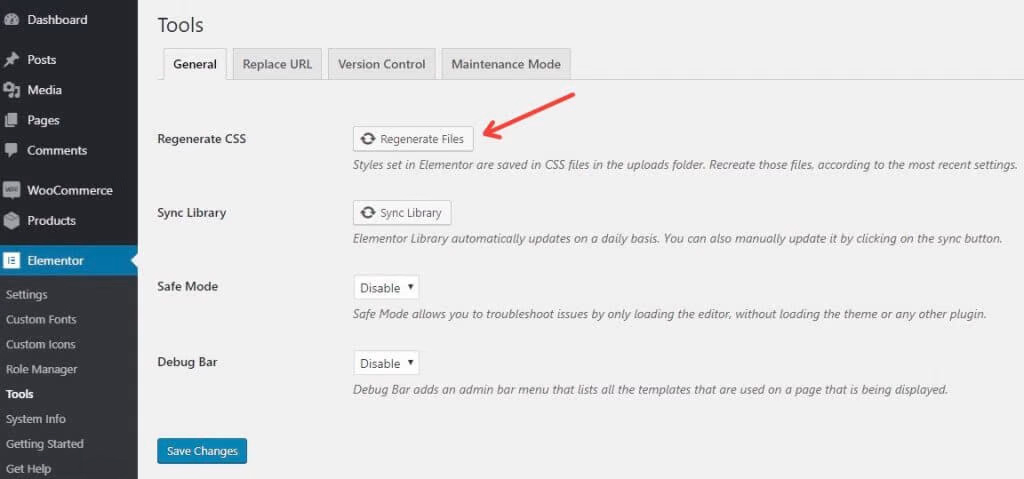
If the changes you’ve made look right in the editor, but they aren’t being reflected on the live site, this is often due to a caching issue. When your styles are not applied online, please follow the steps listed below for dealing with cache issues:
- 1. Go to Elementor > Tools > Regenerate CSS and click the Regenerate Files button.
- 2. Update your page. You may need to make a small change to enable the Update button.
- 3. Clear all cache including server cache if it exists, any WordPress caching plugins you are using, and your own browser cache. You can also try checking in another browser, or in an incognito browser.
If this does not solve the problem, please see more possible solutions here:
My changes do not appear online. What can I do?
Troubleshooting Theme Installation
The eCommerce theme should be installed without any errors, but here are the most common errors and the solutions.
500 Internal Server Error
There are many reasons why these errors occur in WordPress. One of the reasons it is PHP memory limits set too low. You should contact your hosting provider and ask them to increase those limits to a minimum as follows:
- max_execution_time: 300
- memory_limit: 500M
- post_max_size: 512M
- upload_max_filesize: 512M
Demo Content Import Fails.
If the import stalls and fails to respond after a few minutes, or it fails with a simple error message like Import failed, You are suffering from PHP configuration limits that are set too low to complete the process. You should contact your hosting provider and ask them to increase those limits to a minimum as follows:
- max_execution_time: 300
- memory_limit: 512M
- post_max_size: 512M
- upload_max_filesize: 512M
Server Configuration Conflicts
If you are having hosting or server difficulties using Elementor, we’ve included a simple switch that may solve your issue.
- go to Elementor > Settings > Advanced, and under ‘Editor Loader’, .
- enable ‘Switch front-end editor loader method’

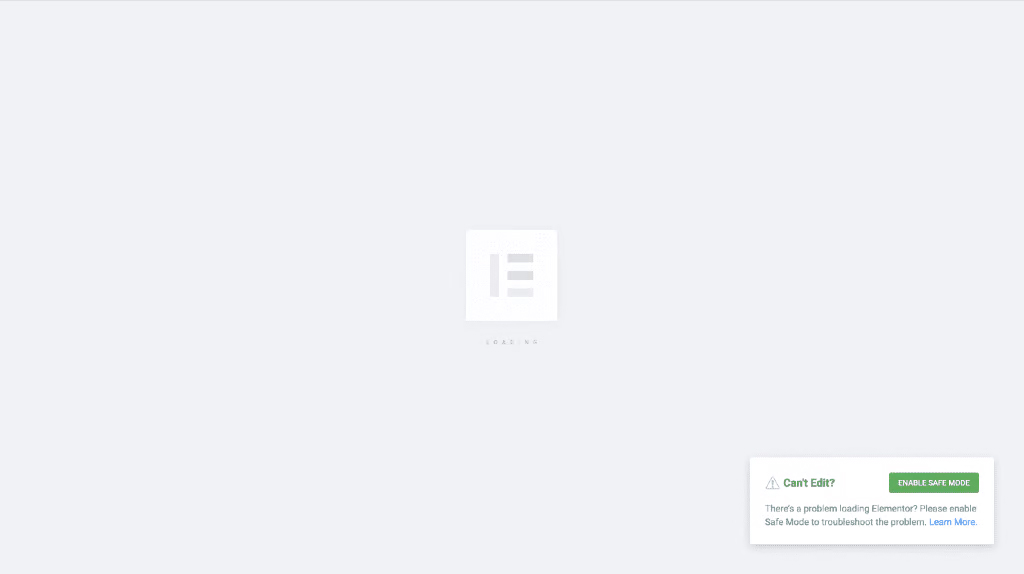
How To Fix Elementor Stuck on Loading Screen
- go to Elementor > Settings > Advanced, and under ‘Editor Loader’, .
- enable ‘Switch front-end editor loader method’
If this does not solve the problem, please see more possible solutions here:
Stuck on Loading Screen?
Revolution Slider Error: Slider with alias not found.
This error message means that the slider added to the page does not exists or is named different and cannot not be loaded.
package could not be installed. The theme is missing the style.css stylesheet.
One of the most common reasons people have issues is because they try uploading the full zip that includes demo content, theme, documentation…etc which displays the “The package could not be installed. The theme is missing the style.css stylesheet.” error. Please make sure you are uploading only the installable theme which is called Gadgeto.zip.
Are you sure you want to do this?
It means you have an upload file size limit. You need to install the theme or plugins via FTP, or contact your hosting provider to increase the limit.
White Screen Of Death or PHP Error Notice.
A “white screen of death” happens when there is a PHP error on the site but WP_Debug isn’t enabled on the server. So the first thing to do would be to enable WP_Debug so you can read what the actual error is and thus fix the problem.
- Please, read the whole section, before attempting to install the theme.
- We recommend to use this theme on a clean installation or existing shops without custom modifications.
- IT IS RECOMMEND TO ALWAYS BACKUP YOUR SYSTEM BEFORE MAKING ANY UPGRADES OR CHANGES!